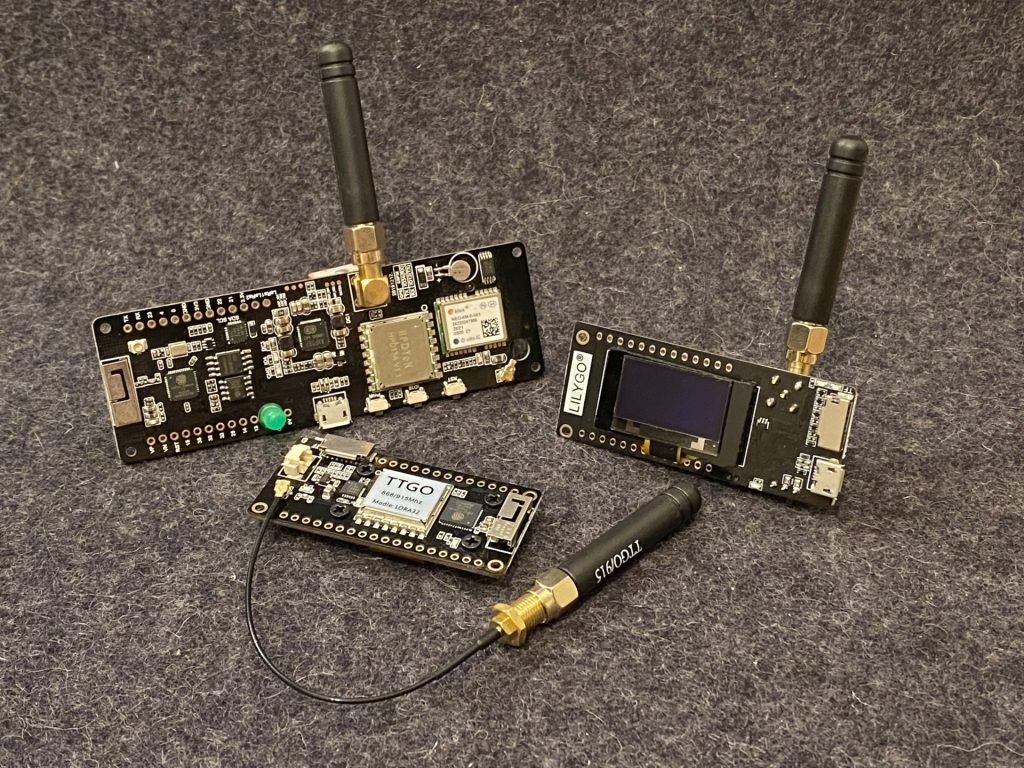
 Some of the device types compatible with this installation guide
Do you have one of the devices available that the RNode Firmware supports? In that case, it is very easy to turn it into a working RNode by using the rnodeconf autoinstaller.
With the firmware installed, you can use your newly created RNode as:
So let's get started! You will need either a LilyGO T-Beam v1.1, a LilyGO LoRa32 v2.0, a LilyGO LoRa32 v2.1 or a Heltec LoRa32 v2 device. More supported devices are added regularly, so it might be useful to check the latest list of supported devices as well.
It is currently recommended to use one of the following devices: A LilyGO LoRa32 v2.1 (also known as TTGO T3 v1.6.1) or a LilyGO T-Beam v1.1.
Some of the device types compatible with this installation guide
Devices come with a variety of different LoRa transceiver ICs. Currently devices with an SX1276 or SX1278, SX1262, SX1268 or SX1280 chip are supported.
Beware! Some devices, like the T-Beam, use SiLabs USB chips. These may need additional drivers to work well on macOS and Windows. Linux usually has up-to-date drivers pre-installed. The SiLabs driver may also experience conflicts with earlier, pre-installed versions of the driver, causing a resource busy error, which can be fixed by removing the old driver.
To get started, you will need to download at least version 2.1.0 of the RNode Configuration Utility. The easiest way by far is to simply install it with pip, if you already have that installed on your system (if not, go install python and python-pip now, it will come in handy later).
The rnodeconf program is part of the rns package. To install it, open up a terminal and type:
pip install rns
After a few seconds, you should have rnodeconf installed and ready to go. If this is the very first time you install something with pip, you might need to close your terminal and open it again (or in some cases even reboot your computer), for the rnodeconf command to become available.
We are now ready to start installing the firmware. To install the RNode firmware on your devices, run the RNode autoinstaller using this command:
rnodeconf --autoinstall
The installer will now ask you to insert the device you want to set up, scan for connected serial ports, and ask you a number of questions regarding the device. When it has the information it needs, it will install the correct firmware and configure the necessary parameters in the device EEPROM for it to function properly.
If the install goes well, you will be greated with a success message telling you that your device is now ready.
To confirm everything is OK, you can query the device info with:
rnodeconf --info /dev/ttyUSB0
Remember to replace /dev/ttyUSB0 with the actual port the installer used in the previous step. You should now see rnodeconf connect to your device and show something like this:
[20:11:22] Opening serial port /dev/ttyUSB0...
[20:11:25] Device connected
[20:11:25] Current firmware version: 1.26
[20:11:25] Reading EEPROM...
[20:11:25] EEPROM checksum correct
[20:11:25] Device signature validated
[20:11:25]
[20:11:25] Device info:
[20:11:25]   Product            : LilyGO LoRa32 v2.0 850 - 950 MHz (b0:b8:36)
[20:11:25]   Device signature   : Validated - Local signature
[20:11:25]   Firmware version   : 1.26
[20:11:25]   Hardware revision  : 1
[20:11:25]   Serial number      : 00:00:00:02
[20:11:25]   Frequency range    : 850.0 MHz - 950.0 MHz
[20:11:25]   Max TX power       : 17 dBm
[20:11:25]   Manufactured       : 2022-01-27 20:10:32
[20:11:25]   Device mode        : Normal (host-controlled)
On the hardware side, you should see the status LED flashing briefly approximately every 2 seconds. If all of the above checks out, congratulations! Your RNode is now ready to use. If your device has a display, it should also come alive and show you various information related to the device state.
If you want to use it with Reticulum, Nomad Network, LoRaMon, or other such applications, leave it in the default Normal (host-controlled) mode.
If you want to use it with legacy amateur radio applications that work with KISS TNCs, you should set it up in TNC mode.
If you are using a T-Beam device, you can connect an external SSD1306 OLED display using the following setup:
If the display does not turn on after powering up the device, it may be using a non-standard I2C address. You can set a custom I2C address for the display using the rnodeconf program with the --display-addr option.
On T-Beam devices, you can also connect external RX/TX LEDs to Pin 2 and Pin 4.